I can get very weighed down when I consider all the waste that this family produces despite our efforts with the three Rs (reduce, reuse, recycle). Even seeing how much goes out in our recycling bins feels a bit overwhelming because although I would say it’s better than nothing, recycling still takes a toll. I would like to see less coming into our home with the sole purpose of holding something until it leaves as waste – plastic, plastic, plastic.
My grandmother grew up in a large farming family during the Great Depression. The Depression ended but she has never forgotten the lessons that need dictated. I have always admired (and sometimes shaken my head) at the second, third or thirtieth use she finds for a thing which most of us would have long since discarded. My mom, while slightly less extreme, has learned many of these habits of saving, reusing and repurposing. My mom adds her environmental conscious to my grandmother’s thrifty ideals.
I’ve learned a lot from these resourceful women although I come nowhere close to their level of dedication. I love to find a second life for things but owing to our small space filled with growing little people I’m not able to hold on to too many things without having a planned use for them. One thing I do hold on to is calendars.
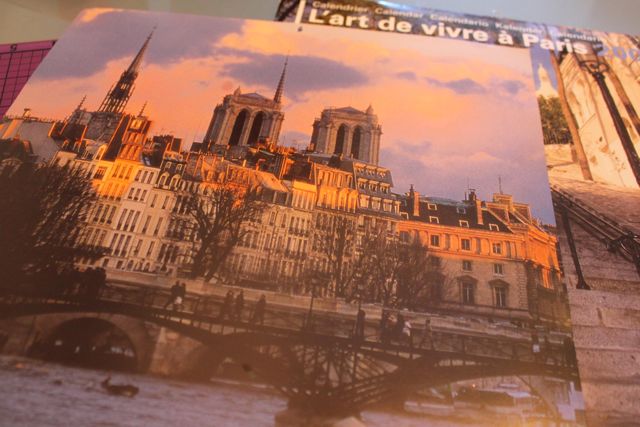
Each Christmas we usually receive at least one beautiful calendar and come the end of the year I always have a hard time tossing the old one into a bin for recycling so I often tuck them away somewhere with thoughts of finding a new use for them.
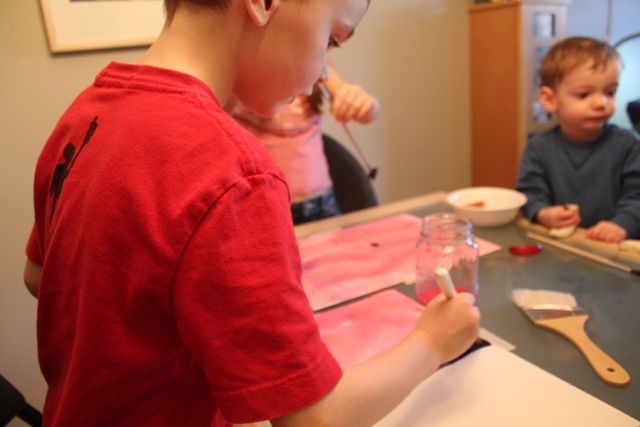
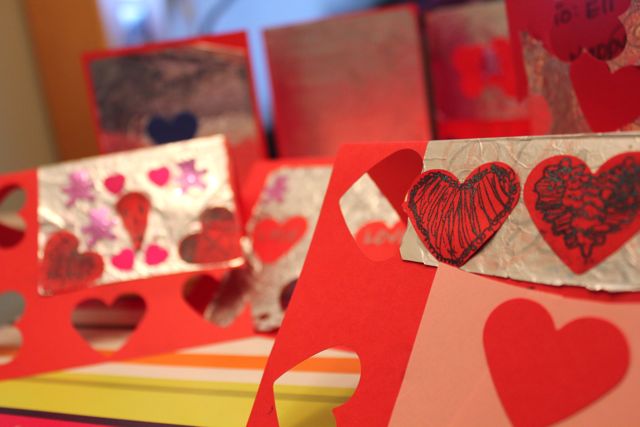
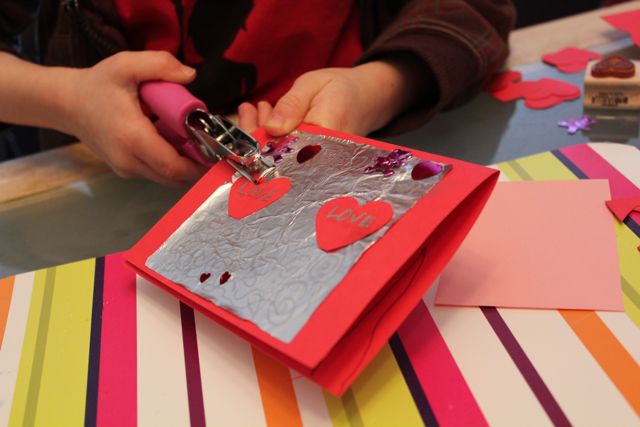
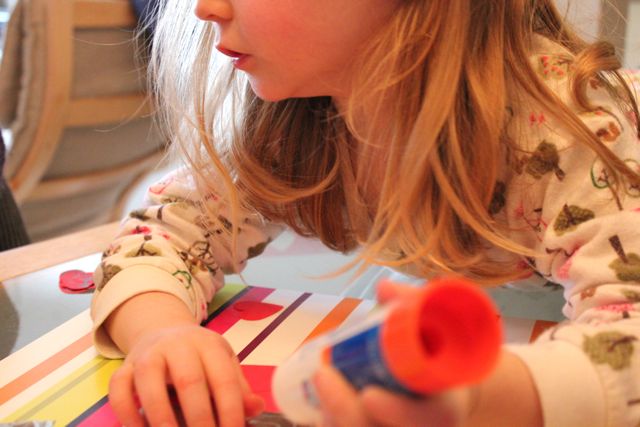
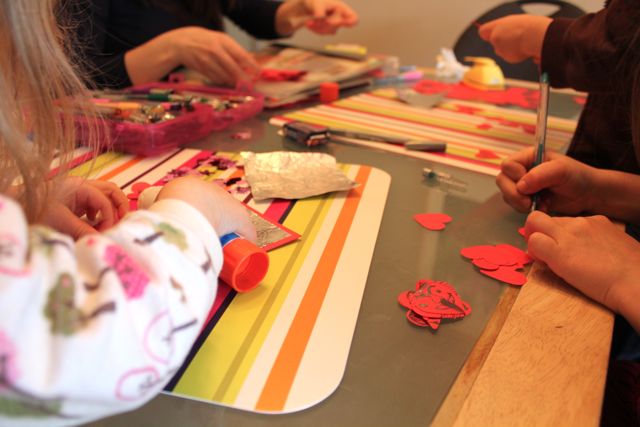
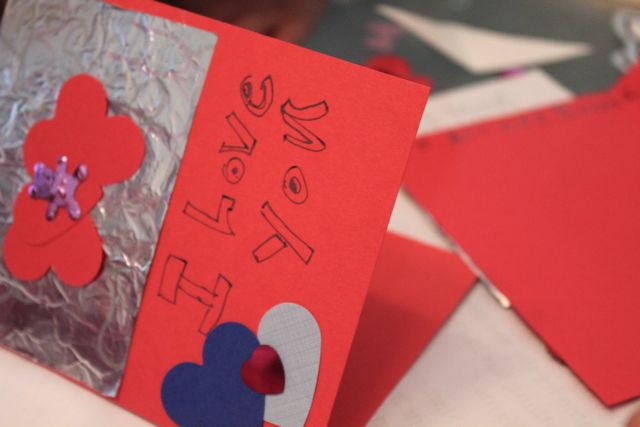
When we made our Valentine’s Day cards this week I thought of these calendars when it came to needing envelopes. The book that inspired our cards also had a page on making envelopes and calendar pages seemed a great alternative to a fresh piece of card stock. They are so easy I don’t know why we haven’t done it all along.
Here’s a quick peek at how the kids and I made these simple envelopes.
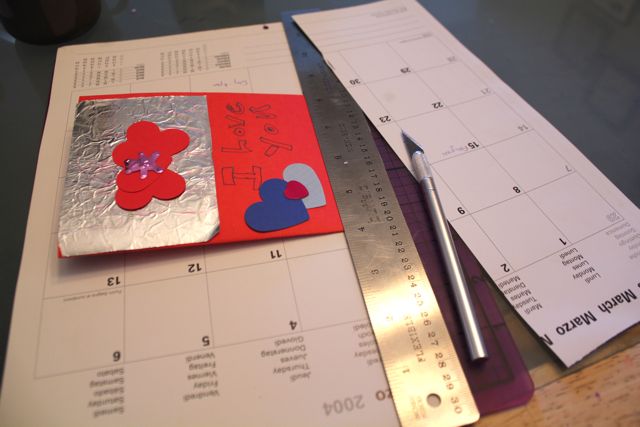
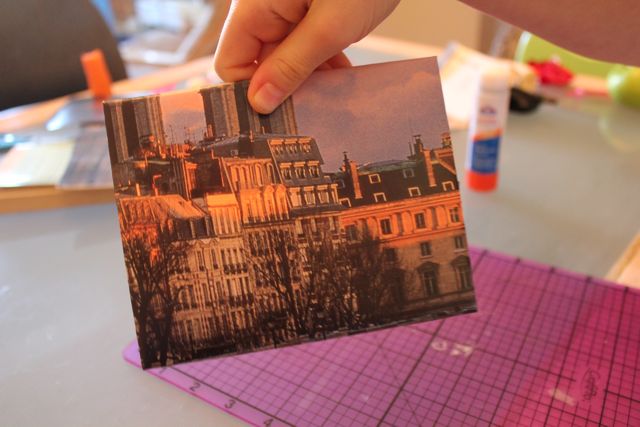
Using our handy dandy craft knife I cut a page out of our calendar.
Leaving about an inch on either side of the card, I cut the extra paper off the side (now I’m trying to figure out that to do with those leftover ends…).
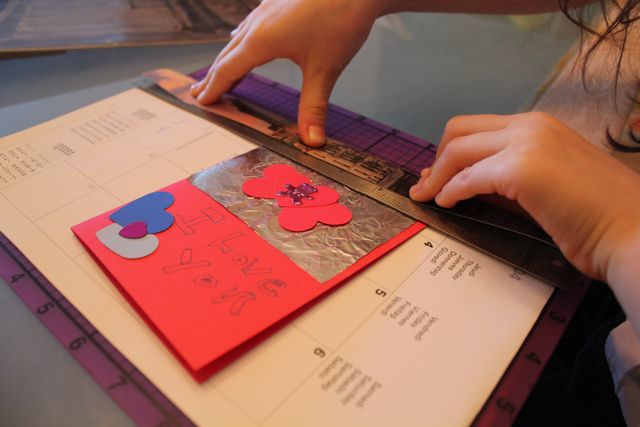
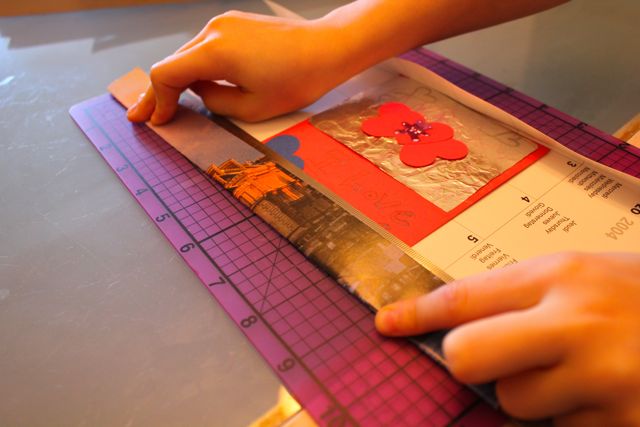
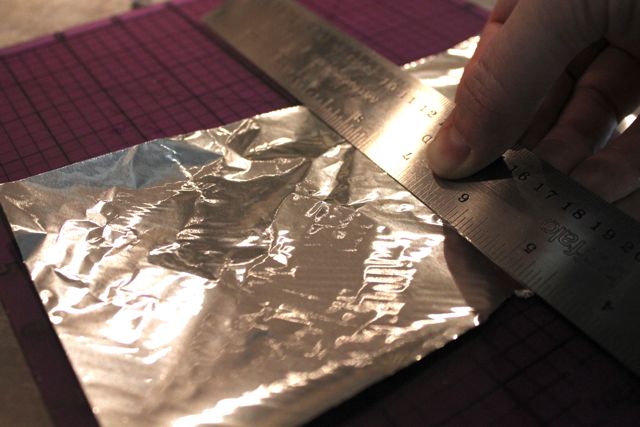
I passed the tools over to my very willing helper who used the edge of the ruler as a guide to fold up the edge of the paper.
*I used the wrong side of the craft knife to score along the fold line for a neater fold.
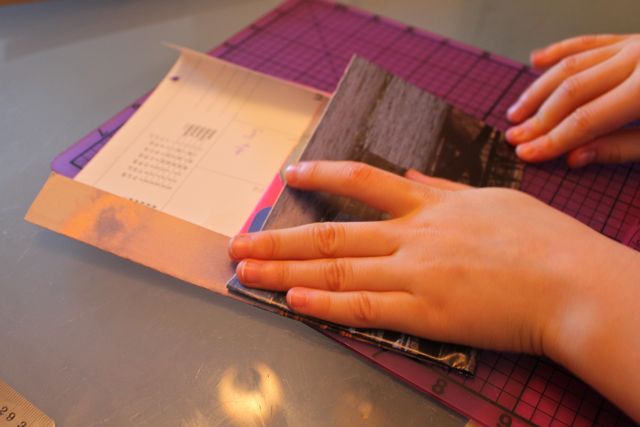
Repeat on the opposite side.
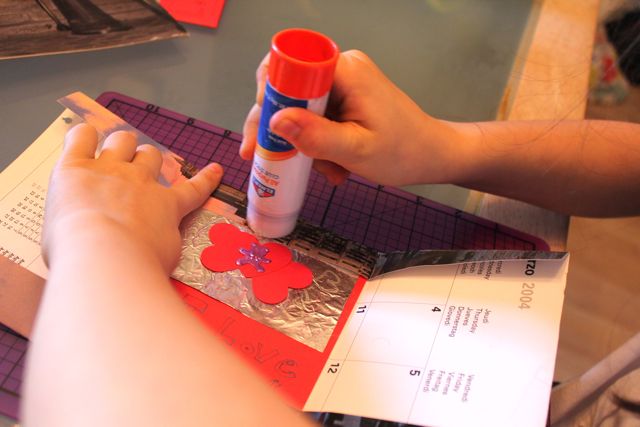
With the middle of the card about an inch above the middle of the page fold the bottom up to cover the card.
Glue this last fold down.
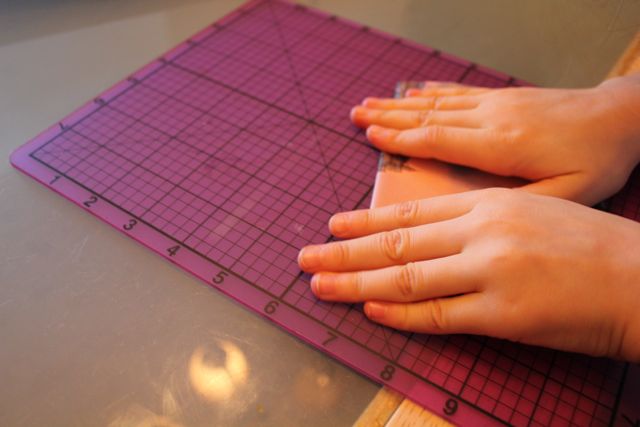
Fold the top down over the card.
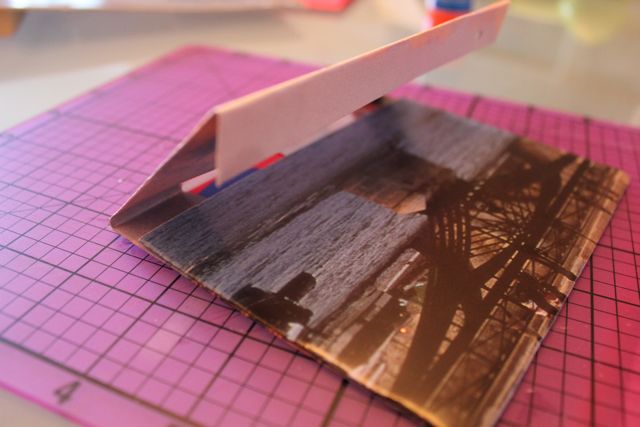
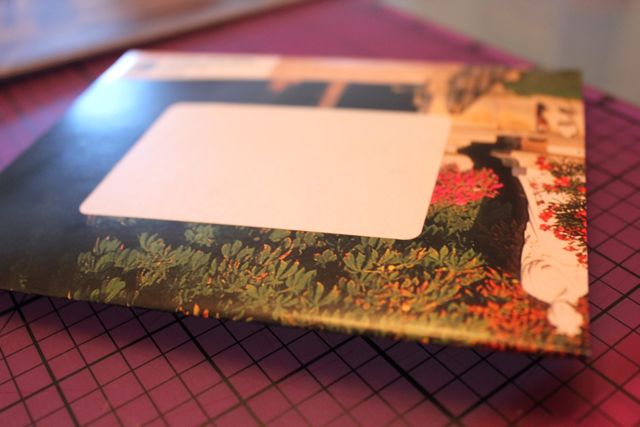
And you have a so-simple-you-didn’t-really-need-a-step-by-step envelope.
Add a label for mailing and close with glue, tape, ribbon or twine depending on whether it will going into a mail slot or hand delivered.
There are lots of fun possibilities to dream up with these – different papers, different sizes, different closures. I foresee plenty of these envelopes in our future.
These were so easy, the kids were so proud of their new skill and there is one less calendar saved in the basement!

