I have a serious weakness for wool. It is not unheard of to find me lovingly caressing an irresistible skein of alpaca or stroking an especially delicious hank of merino but I have a special weakness for sweaters. Particularly of the feltable, thirfted variety. I was gathering a rather obscene stash of the lovelies (obscene because I was collecting not using) and promised myself (and Dan) that I wouldn’t buy any more until I had actually made something. Cutting into them was harder than I’d expected but I finally found my courage and began chopping off arms and cutting them open (yeesh, that sounds gory).
Definitely the quickest project I tried were sweater hats. I had three in stockings on Christmas morning and much to my joy they have been getting a lot of wear around here. A couple little heads have been missing out on the fun so I whipped a fourth up last night. They only take about an hour, including the applique.
I’m certainly not the first to attempt the sweater hat but I thought I would share the process here in the hopes that you will give it a try.
Keep in mind, I am a beginner sewer so if I am confusing or need correcting please feel free to comment.
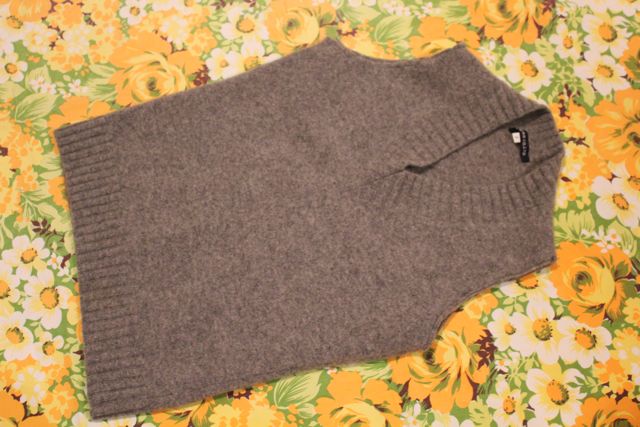
I started with this sweater (arms long since chopped). I bought it used for a couple of dollars and put it through a hot, soapy load in my washing machine. It felted beautifully because it is pure lambswool. To felt properly it must be as close to 100% pure as possible – I’ve heard others say it can be 90% pure but I haven’t taken that chance and it must not be superwash wool (if the tag says you can wash in warm water or a machine it is likely superwash and won’t felt). I have also felted cashmere and while it is beautiful the fibers don’t always shrink as well (perhaps depending on the quality of the cashmere).
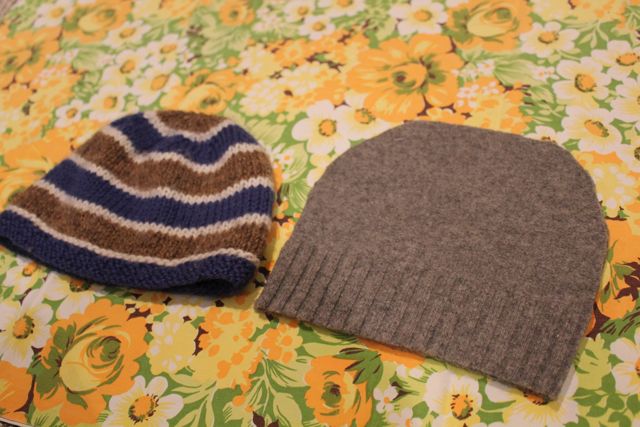
I used one of the boy’s existing hats to gauge the proper size, adding some length so it would fit longer, took a deep breath and cut along the bottom of the sweater so my hat will have a nice rim.
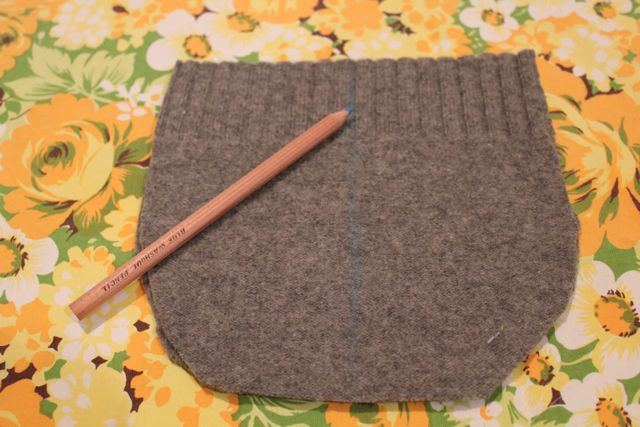
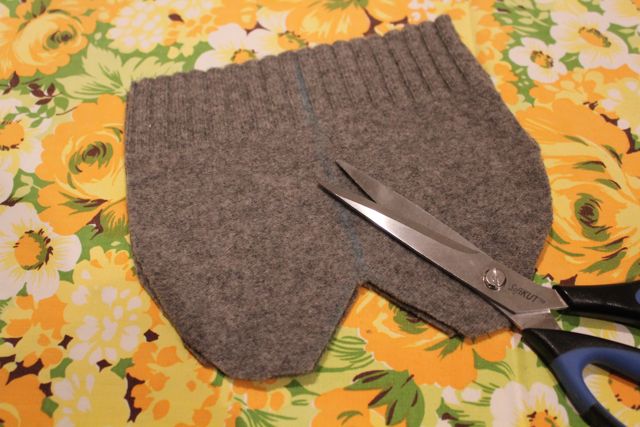
With the right sides together and using a chalk pencil, I marked down the middle.
Rather than sew a single seam, I like to add some shaping so it fits little heads a little more snugly. Using not-so-exact methods I cut out a notch using my chalk line as a guide marking the middle of the hat.
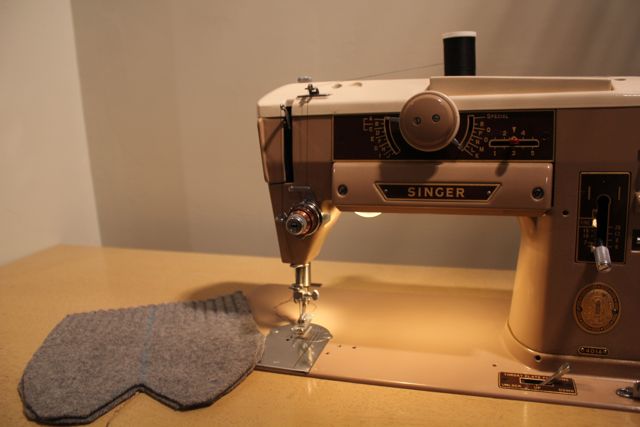
By hand or using a sewing machine (isn’t she lovely?), sew up to the beginning of the notch.
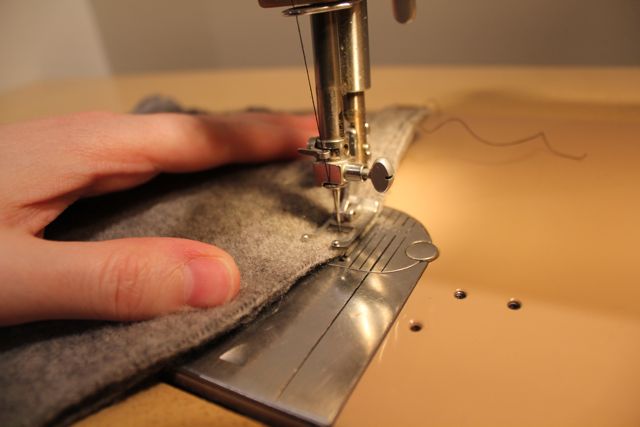
Don’t forget to backstitch at the beginning and end to add lots of strength to the seam.
Backstitching just before the notch descends.
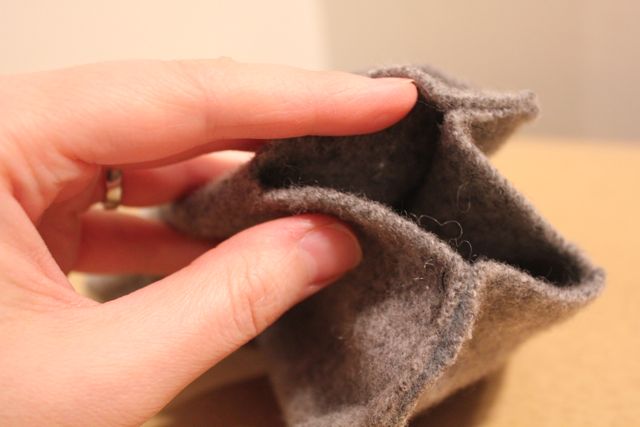
Repeat on the second side – from the rim to the beginning of the notch again – and this is what you have.
See what I mean? The notch is still open.
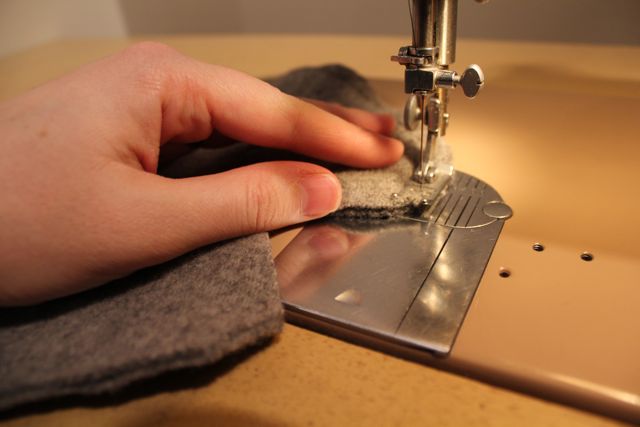
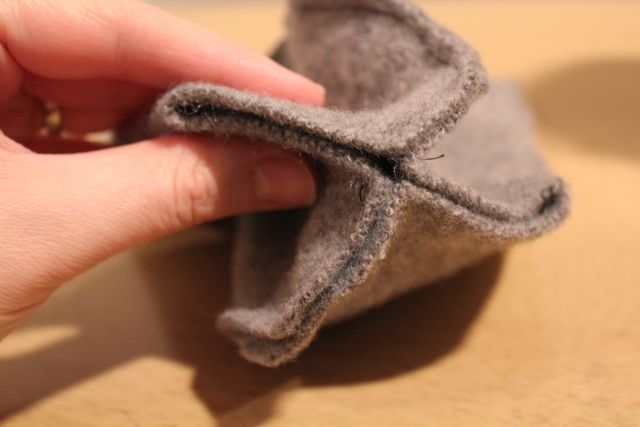
Now pinch this open seam shut and sew closed.
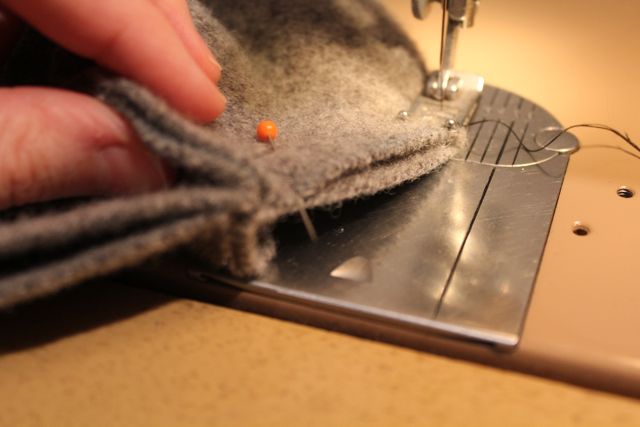
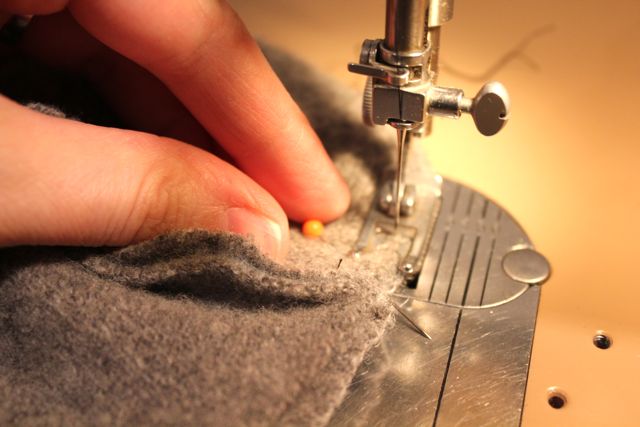
I used a pin to hold it closed because it gets a little shifty at this point.
Remove the pin and continue across the opening, remembering to backstitch again.
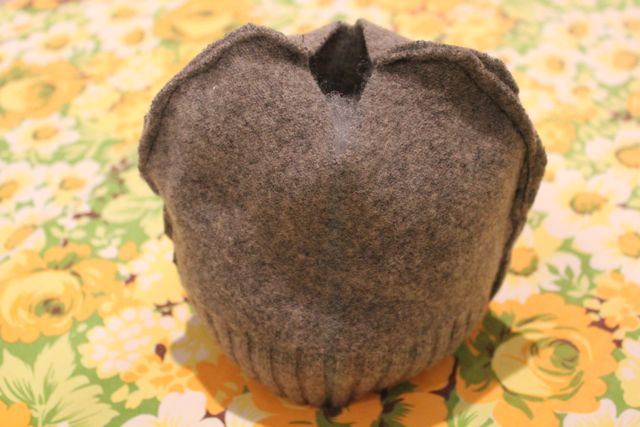
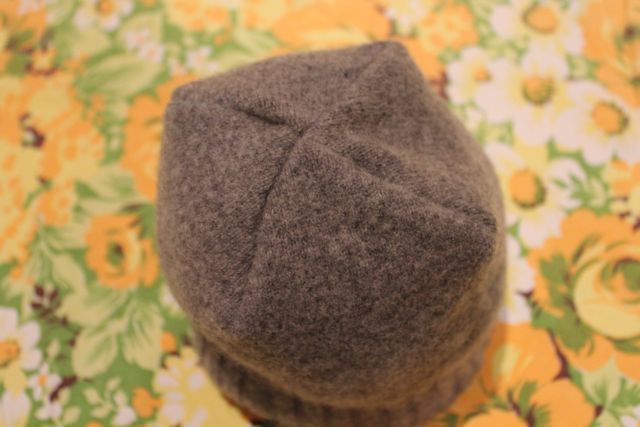
Turn it inside out (right sides out, in this case) and there you have it – a hat!
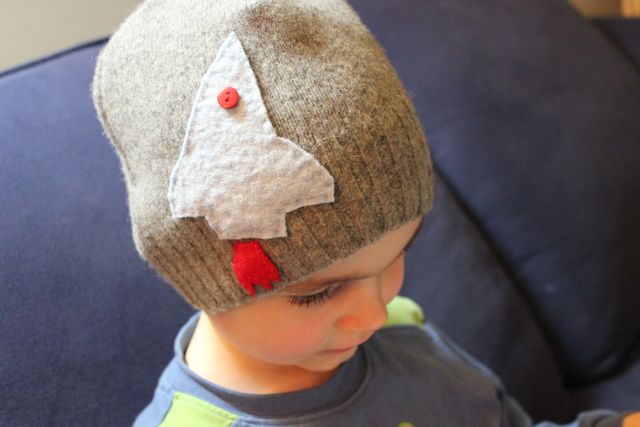
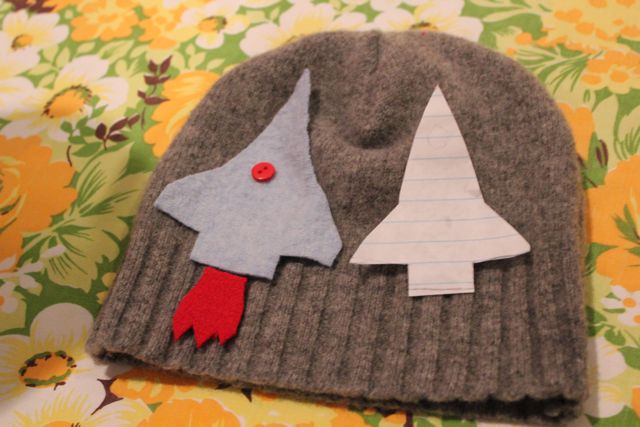
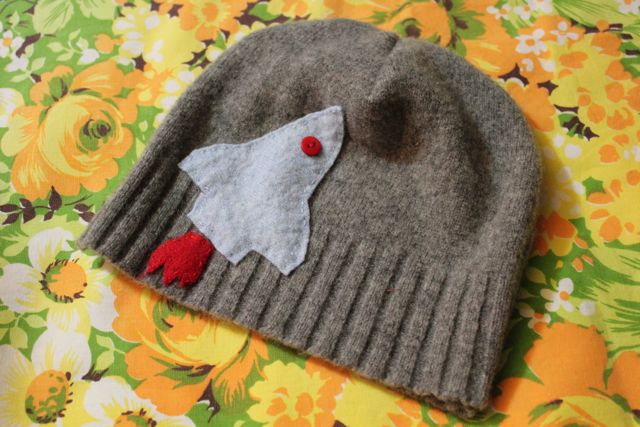
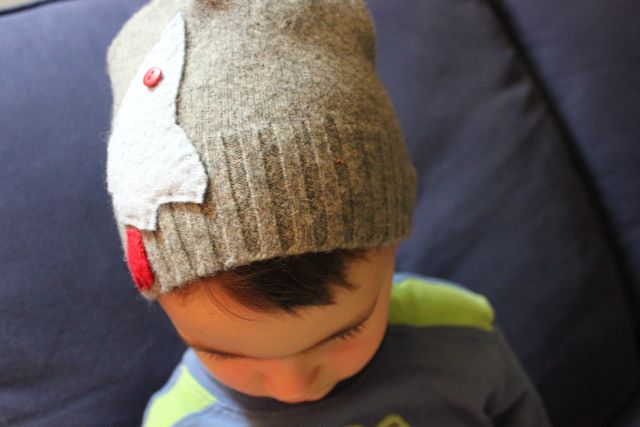
My favourite part is doing the applique. I tried out a few ideas I had, picked one, dug through my wool scraps, changed my mind, dug through my scraps again and finally settled on a rocket ship.
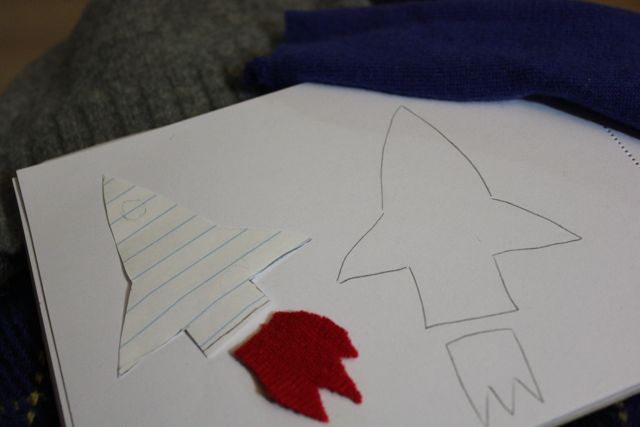
I made a rough template and cut my wool to match.
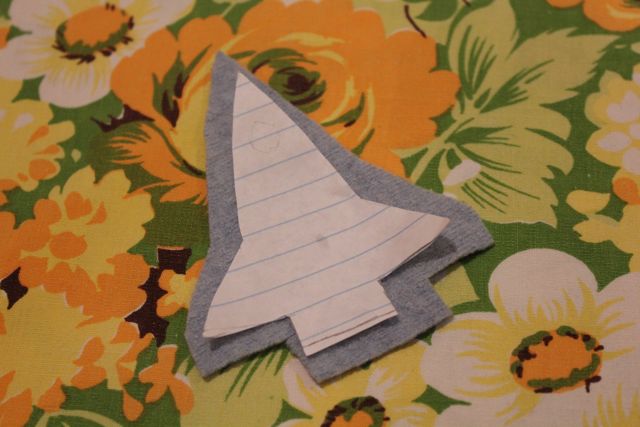
I laid it out…
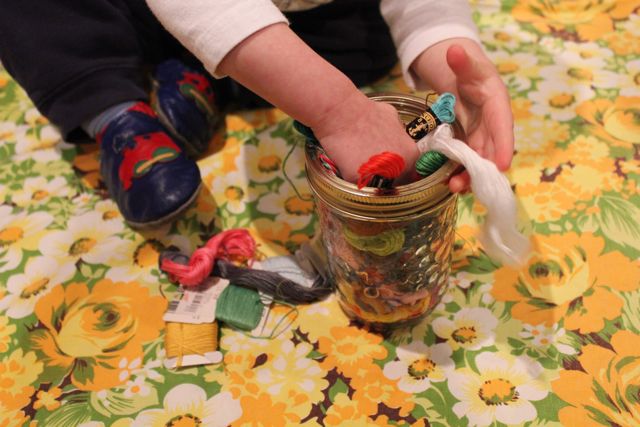
…with lots of help from little brother who insisted the button needed to go back into the button tin.
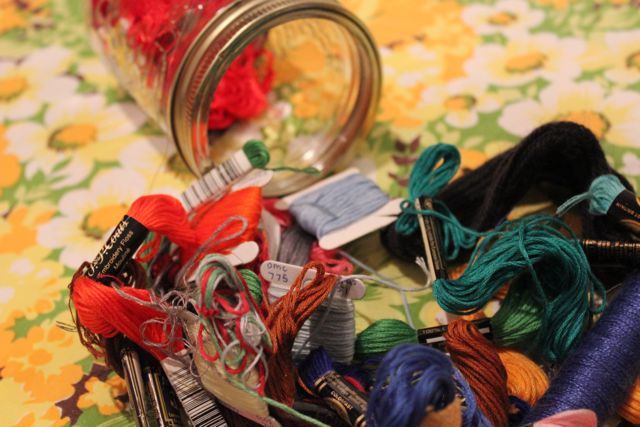
I dug through another thrifting weakness of mine for the right colour of floss to match my wool.
In this case I decided to go all matchy-matchy with my floss and thread colours.
I distracted little brother with these so I could get my button back.
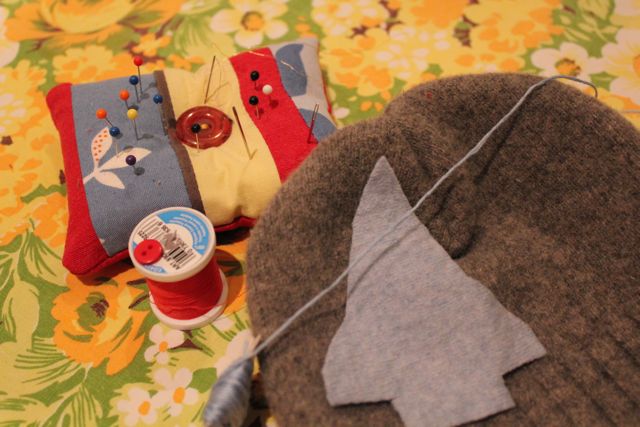
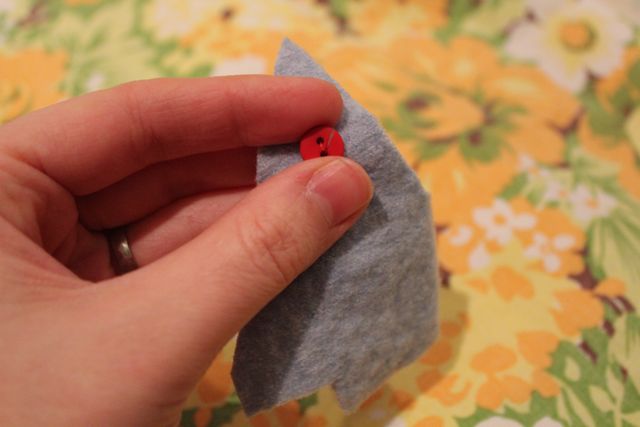
Then attached my button as a window.
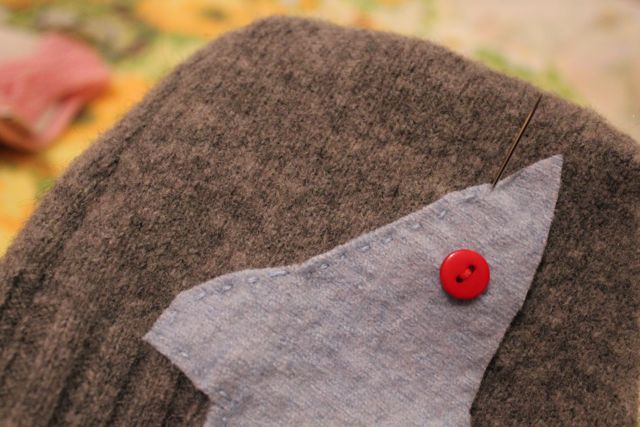
Using a simple running stitch and three strands of my six stranded embroidery floss, I sewed the rocket onto the hat. I tried to make the stitches tight and close to hold it on there despite possible (or probable) tugging fingers.
Using the same running stitch and three strands of red floss I attached the flames below the rocket.
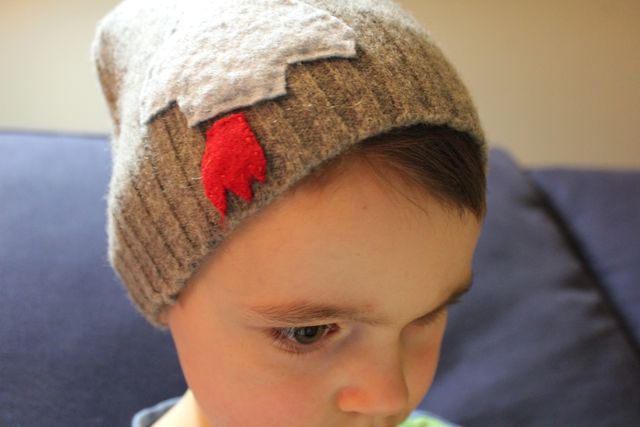
This little head says he is very warm. He kept asking, “Is it done? Is it done?”, then settled down to read a book all snug in his jammies and hat. All it cost me was a few dollars, about an hour of my time and some tangled embroidery floss.
There is one more little head that needs a hat – her requested colour of pink is a little harder to find in wool sweaters but I’ll just have to do my part and add thrift shopping to my list of things to do this week. Darn. Then maybe I’ll have to find another sweater to make a bigger hat – I think I’m a little jealous of all the toasty little noggins.
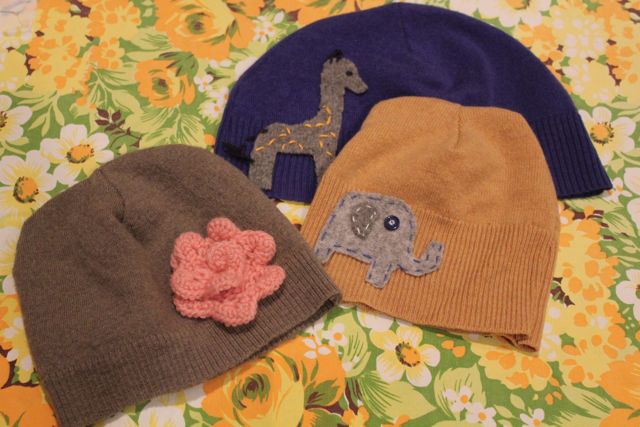
Here’s a little peek at the other sweater hats we’ve been wearing.
The rosette I knit from this pattern here. There are about a billion crocheted rosette patterns but as much as I try, crocheting defeats me so I was happy to find a knit version.
I hope you’ll give it a try to warm some of the little heads around you. So simple, so quick and so loved.

