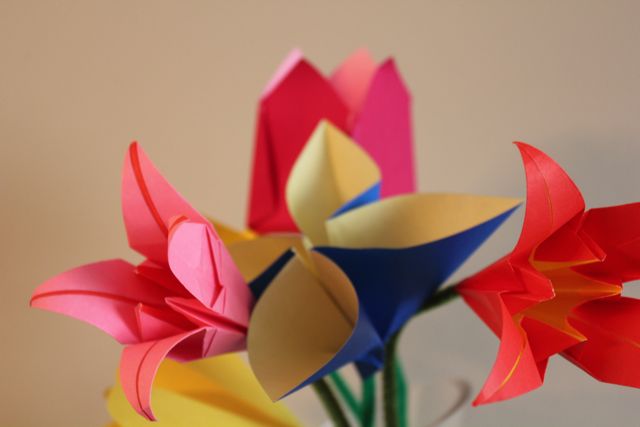
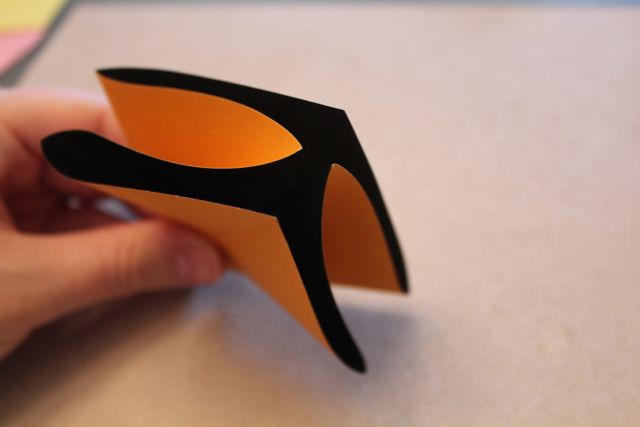
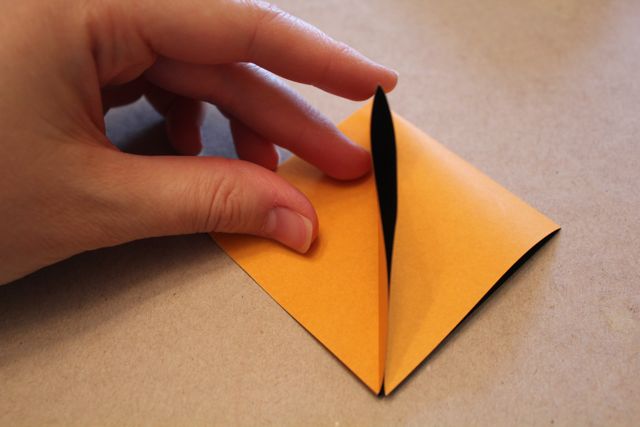
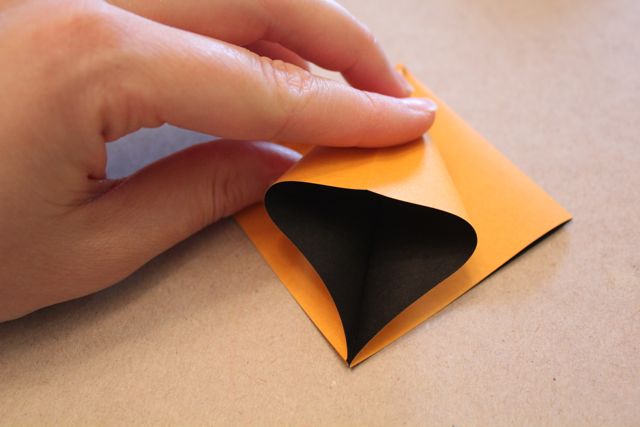
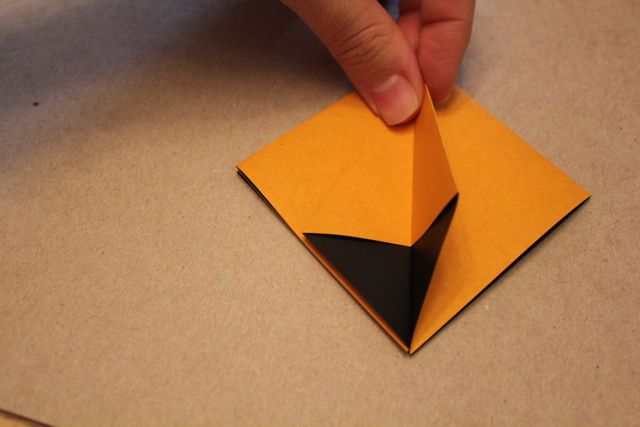
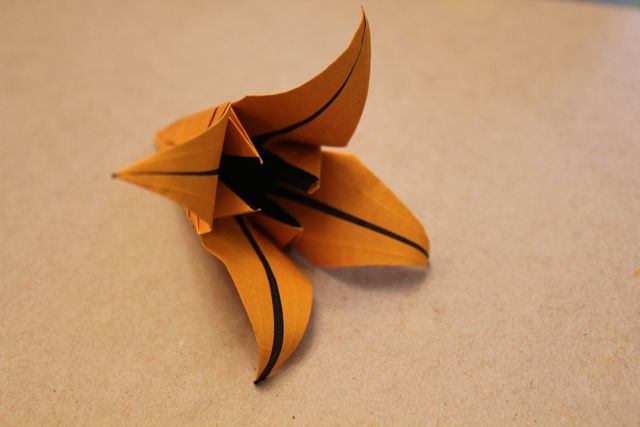
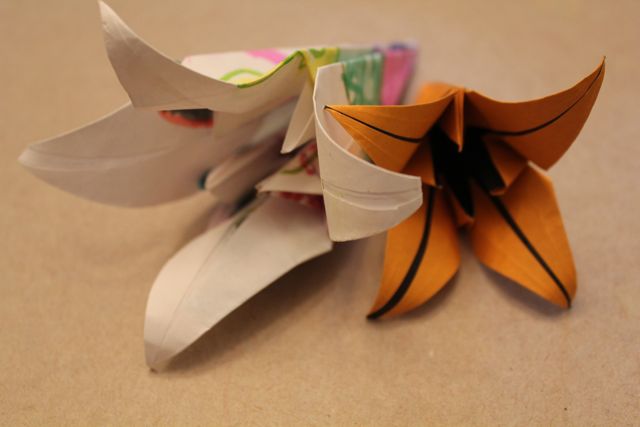
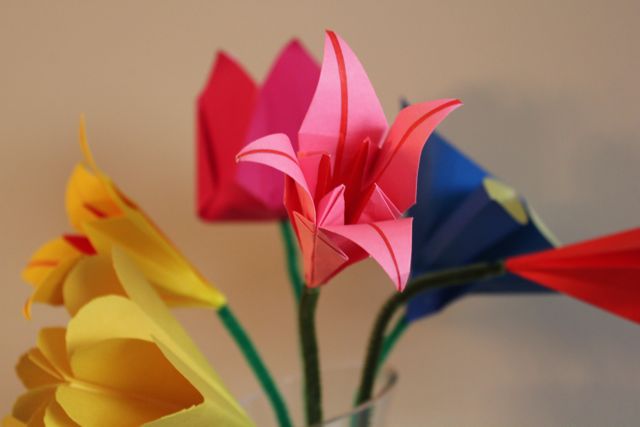
There are little shoots coming up in the garden but it will be a little while before we see any blooms. In the meantime we’ve brought spring inside with a bunch of origami flowers.
I love origami and even though I’m not so talented at it, I’m always drawn to it. This past week we pulled out our handy origami book again and picked out some flowers to try.
We made lilies, tulips and a simple four petaled flower but the lilies are our favourite.*
After making four or five I decided to photograph the process in case anyone else was feeling the need for some blooms.
*I did most of the making with lots of input from the observers but I’m going to see if any of the little fingers want to give it a try. They already have plans to make a bird mobile for little brother’s birthday later this week so we’ll see how patient we all are with that.
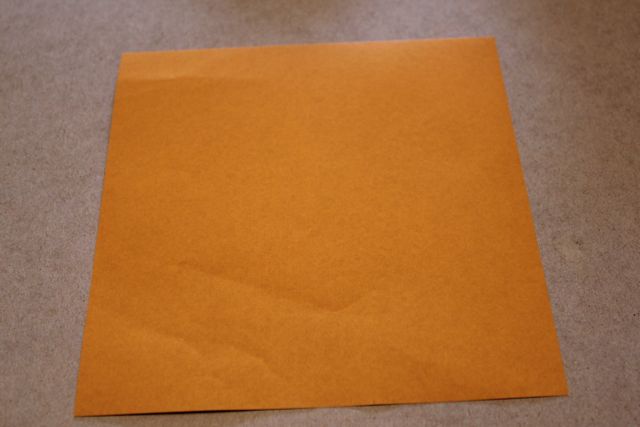
1.Start with a square of paper. We have some origami paper which is nice and thin but we’ve also used papers that the kids and coloured on and sent to the recycling bin. Start with the main colour on facing up.
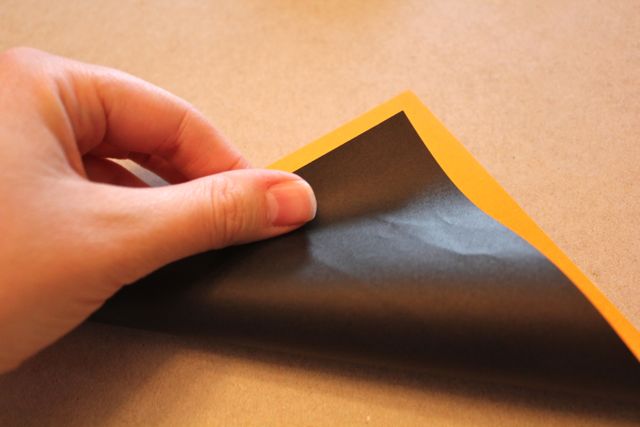
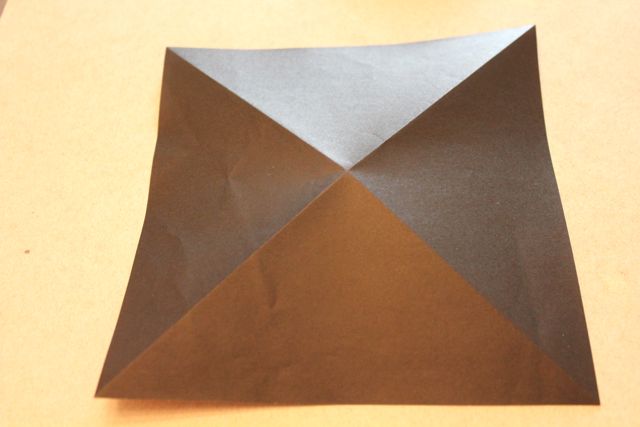
2. Fold the far corners together making a triangle. Unfold this triangle and fold the opposite two corners together.
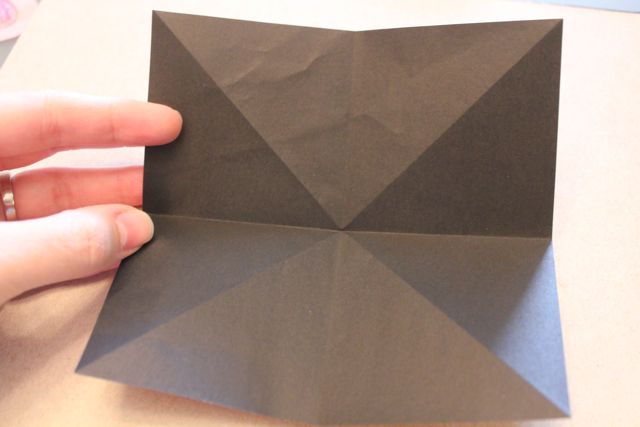
3. Unfold again and this is what you will have.
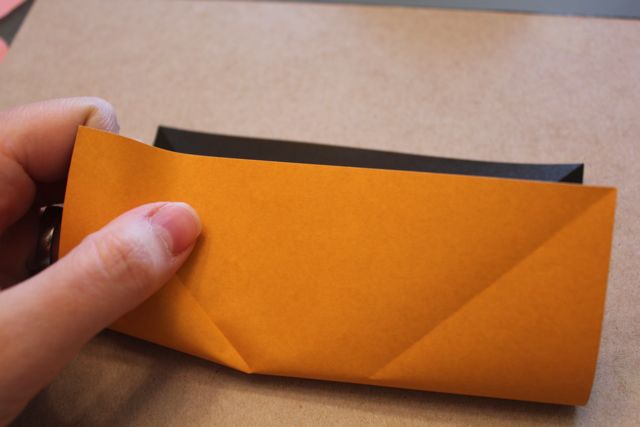
4. With the main colour on the outside fold two corners to the two opposing corners. Unfold this and repeat with the other two corners.
So far so good?
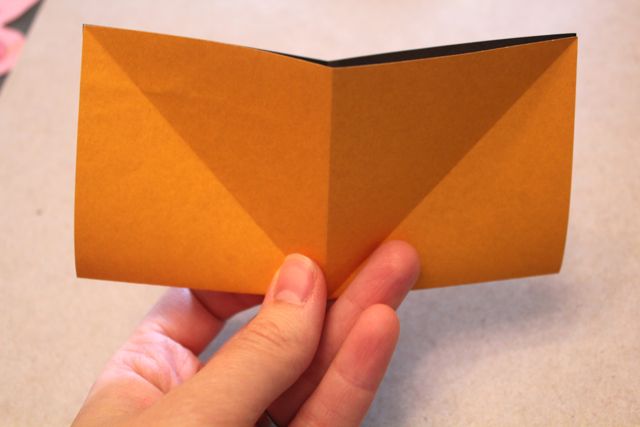
5. Leave this last fold together. Bring the top two corners together allowing the middle to open along the reference folds from the previous steps. You will have a four triangles. Fold the triangle coming towards you to the left and the triangle pointing away from you to the right. Fold flat.
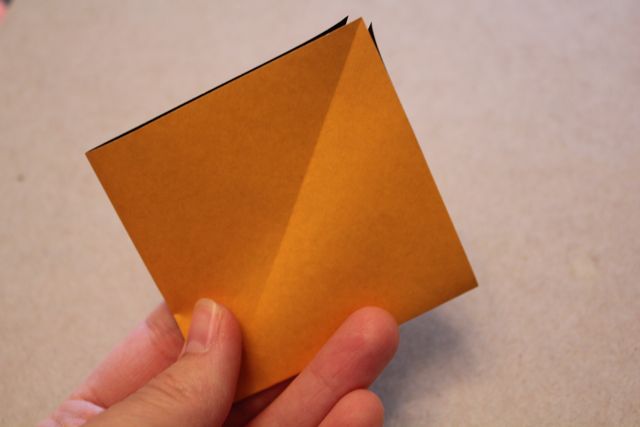
You will have a diamond shape that looks like this.
And like this from above with two folded triangles on each side. This is called a Preliminary Base.
6. Lay it with the open points facing down. Lift the top right triangle so it is perpendicular to the diamond.
7. Press this down from the centre to create a smaller diamond. Use your previous fold lines as a guide to know where the centre is.
8. Take the right side of this new diamond over to the left.
Like so.
9. Repeat these previous two steps on the three other points.
This is what you should have. See how it is split at the bottom with four points at the bottom, two on each side.
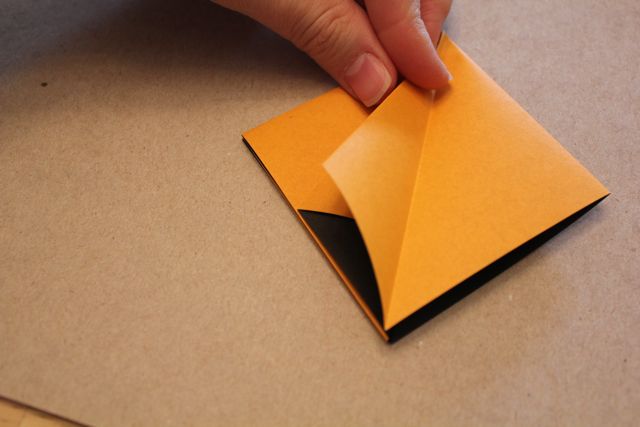
10. Take one of the raw edges and fold in to the middle.
11. Repeat with the other raw edge.
12. Continue these two folds (step 10-11) until you have made 8 folds – only fold where you can see the contrasting colour and are bringing to folds together as shown above.
13. Unfold the last steps – these creases will be reference folds for the next steps.
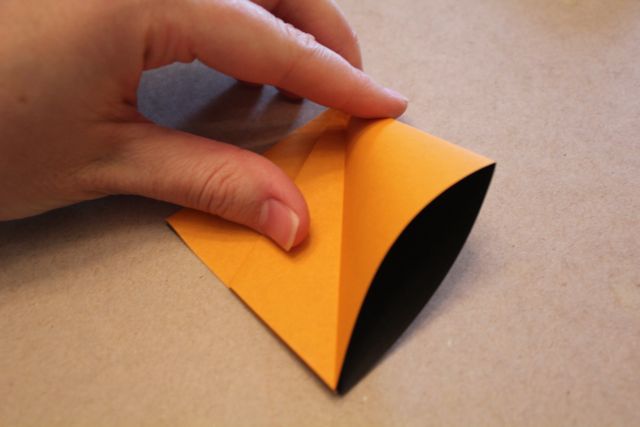
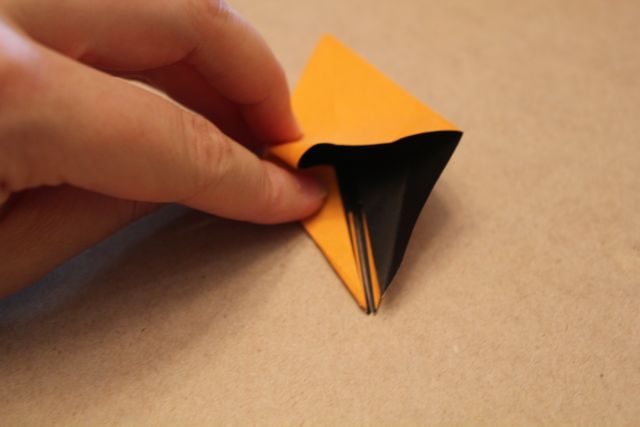
14. Lift up the raw edge that cuts across the paper to make a hollow cone shape in the middle.
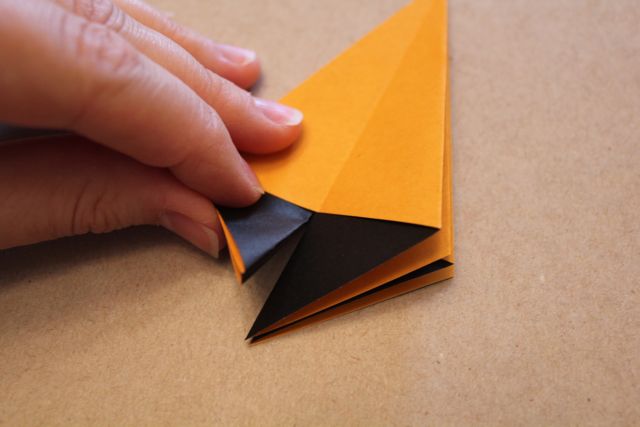
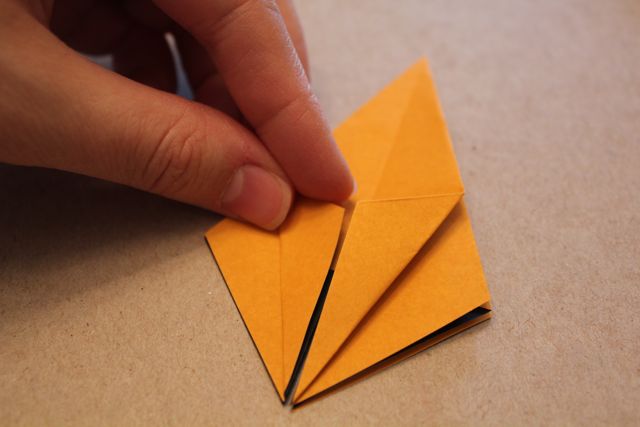
15. So here is the tricky part*. This is called a petal fold. The previous folds will help guide you. Fold in the single layers at the bottom following the crease made in step 10. I’m showing it on one side but do it on both sides together. Press these folds in gently, following the reference folds and create reverse folds with a new point in the middle pointing to the top of the shape.
*When I had Dan test out my instructions it was here that he exclaimed, “HERE is the tricky part? You’re kidding me right?”
It will look like this. Repeat the petal fold three times around the piece. This is a completed Frog Base.
Are you with me?
Anyone?
We’re almost done, I promise.
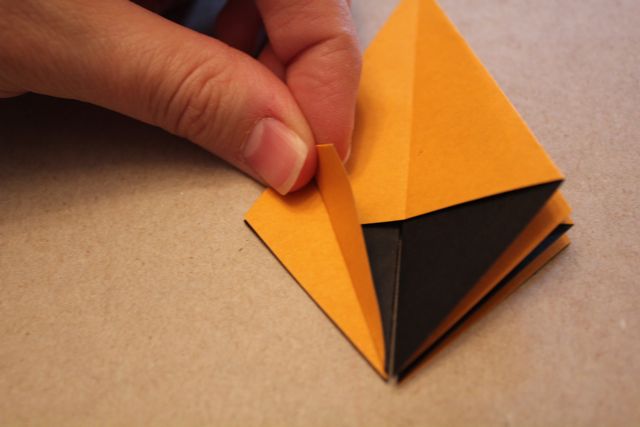
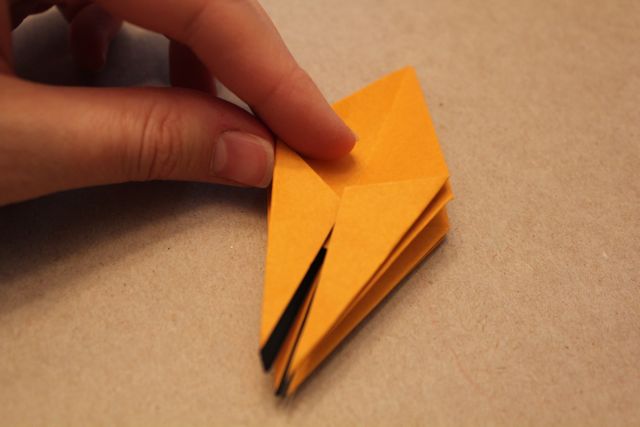
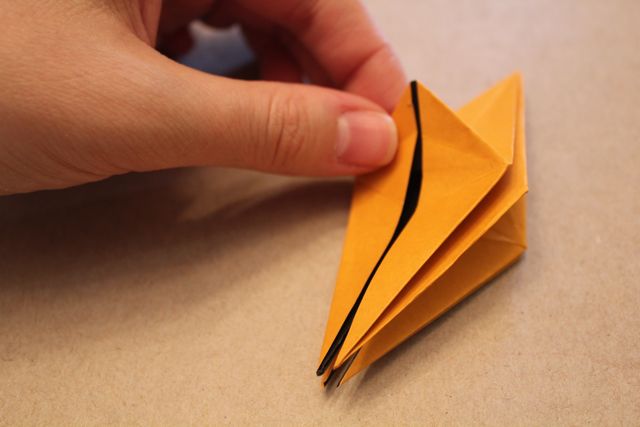
16. Those four new points you created need to be folded down.
17. Swivel your layers around so you have a smooth side facing out and equal points on each side. Lay it down with the closed tip pointing towards you.
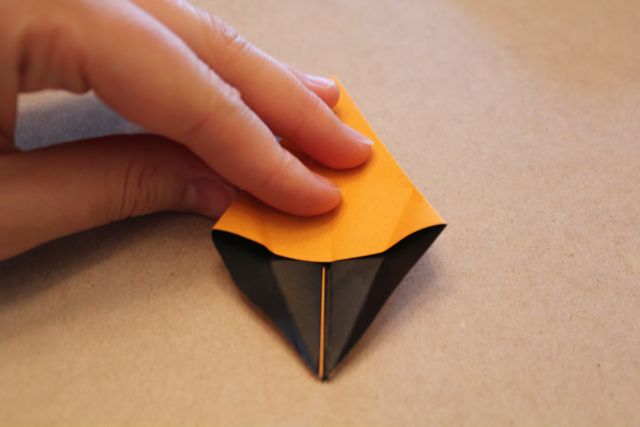
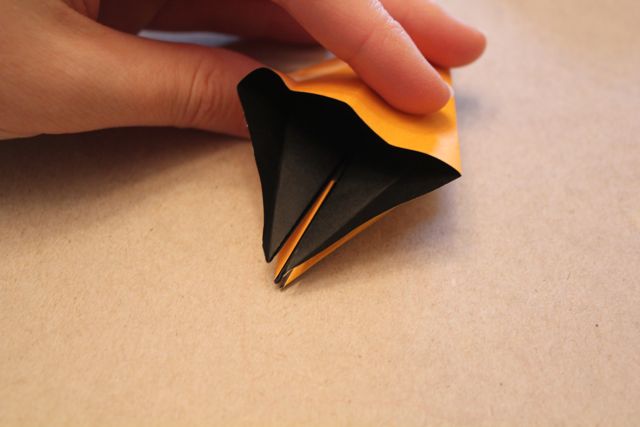
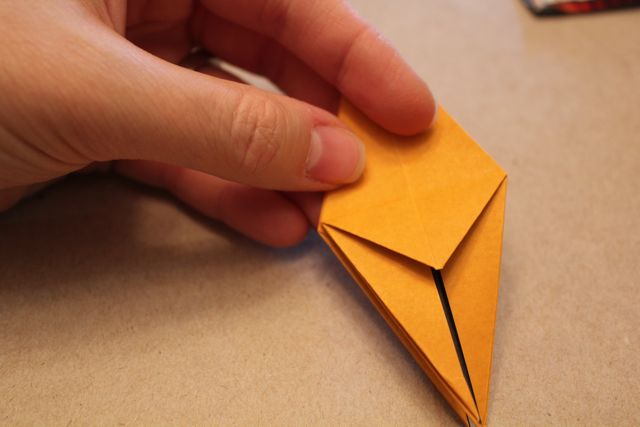
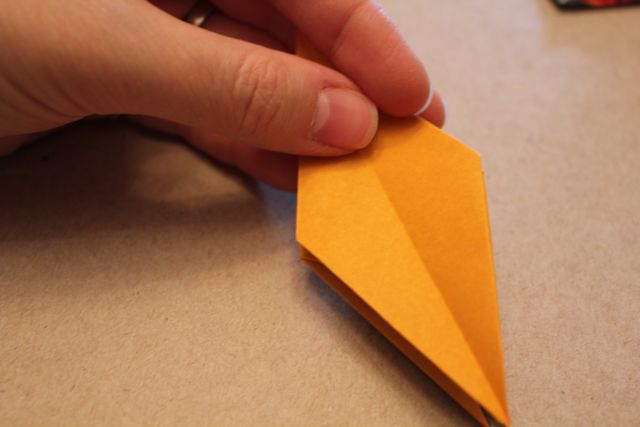
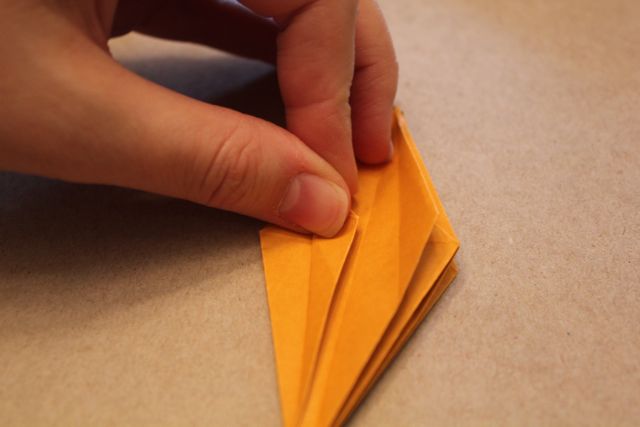
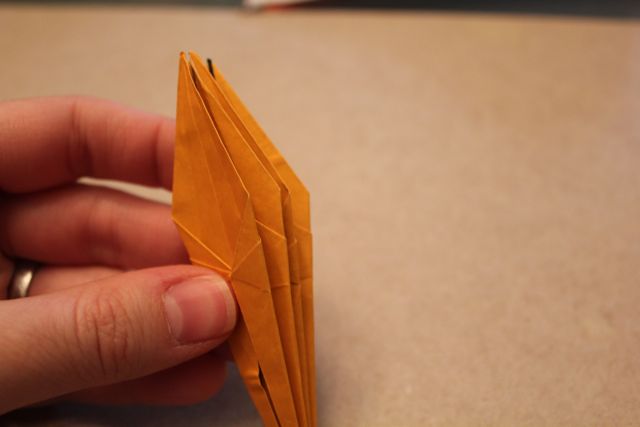
18. Fold the outermost tips in to the centre as shown.
19. Repeat the previous step on the three remaining smooth faces.
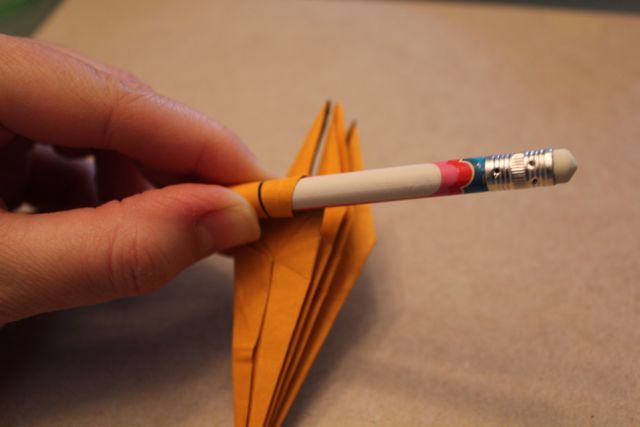
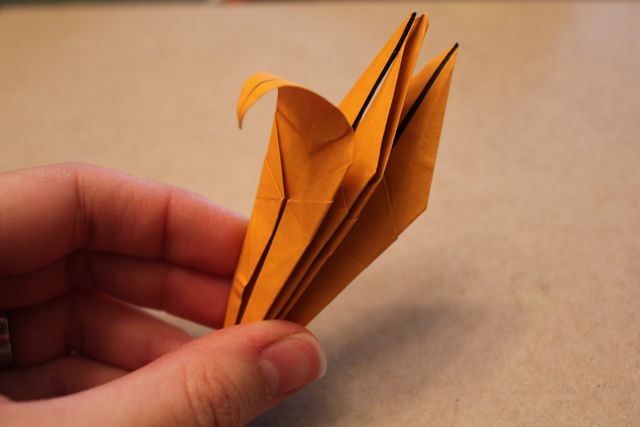
20. Using a pencil roll each of the four petals down to open the lily.
Comme ça.
There you have it!
If you’ve made it this far you’ve earned a pat on the back and a high five.
Make one…make two…
…or make a bouquet.
So what do you think? If you have any troubles or think this is just absolutely ridiculous (as I think Dan may be starting to wonder) let me know. I’d have fun showing a few more origami projects in the future but don’t know how well my directions are coming out. I’d love your feedback if you give it a go!

