Another yummy meal post from Dan. We’ve been eating less and less meat these days and I am loving the new recipes he’s been trying out!
On a recent relaxing Saturday the kids woke up and got themselves some breakfast with a minimal amount of milk splashed on the table. There was a play dough incident but in general it had been a pretty laid back kind of day. So with some spare time I thought I would try something new for dinner. The basic ingredients are Potatoes, flour, and eggs. Should be simple right?
I looked at a few recipes for the basic ratios of potatoes to flour and I settled on 1.5 lbs of boiled potatoes to 1 cup of flour.
I had about 2-1/2 lbs of boiled potatoes so after some quick math and I decided to use 1-2/3 cups of flour.
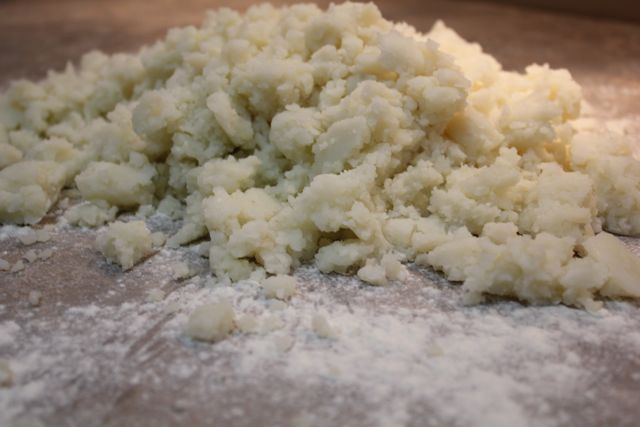
Mash your boiled potatoes and put on a floured surface with a fair amount of space.
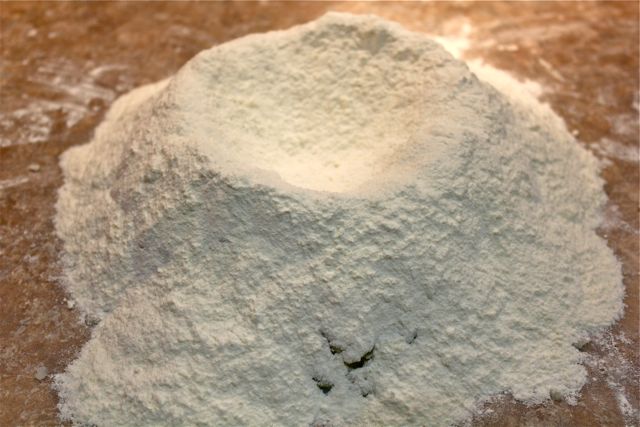
Then create a well. Pour the flour around the sides and into the well.
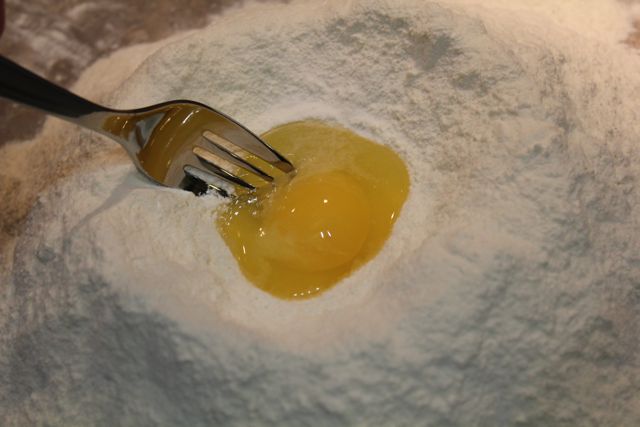
Break the egg into the center and with a fork start to mix the egg into the flour and potatoes.
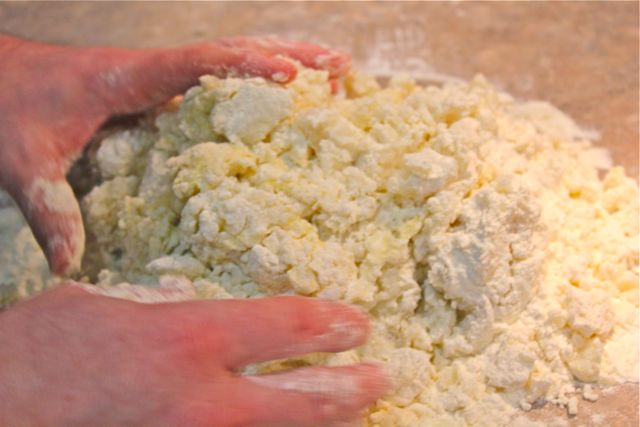
Once the egg is incorporated, it is time to get your hands dirty.
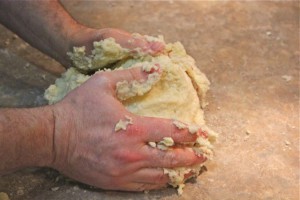
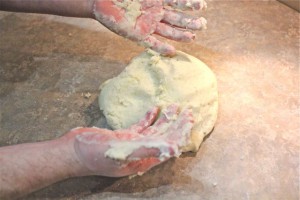
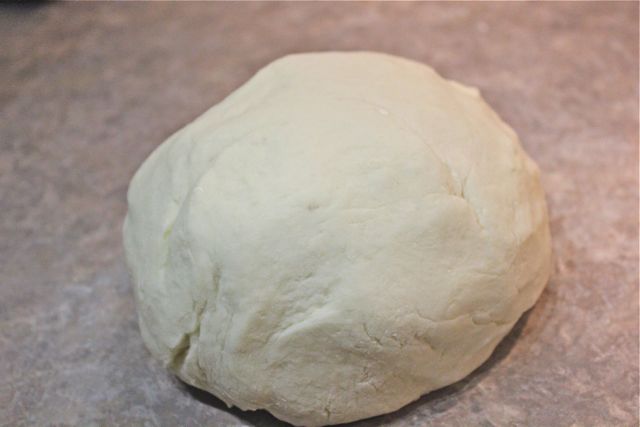
Knead the dough until it forms a ball, and is sticky-dry to the touch i.e. none of the dough goes with your finger when you press it. I found to achieve this I had to add another 2/3 of a cup of flour.
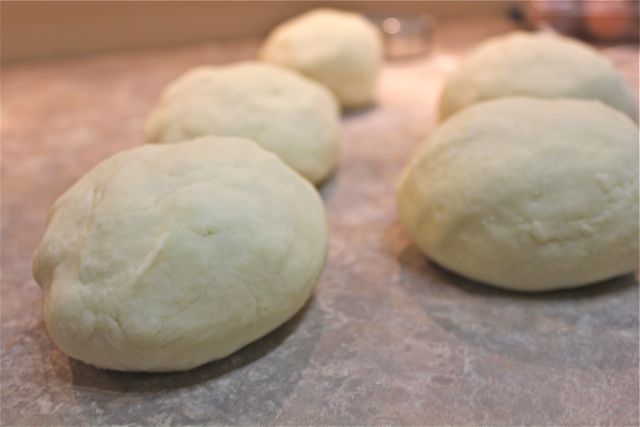
Once you have your ball of dough break it off into smaller balls for rolling into ¾” ropes. This process took a little longer than I expected but once I got the swing of it, it was pretty easy.
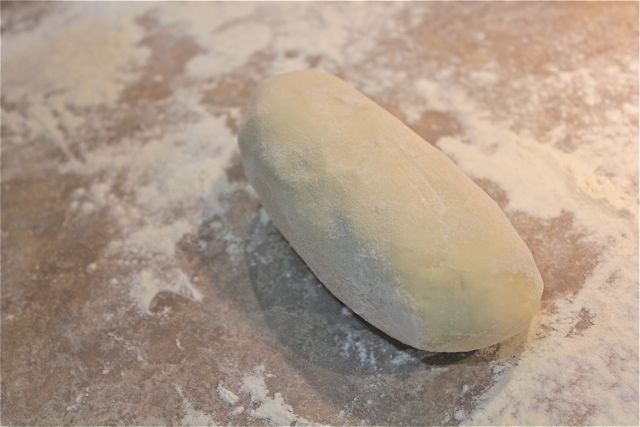
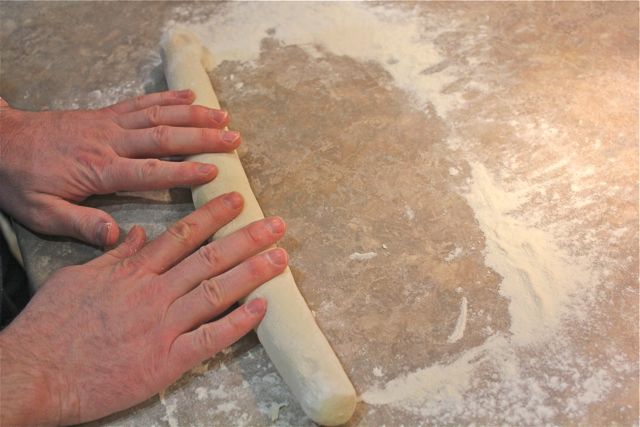
I took the small ball on a floured surface and rolled it toward me until it became a manageable rope.
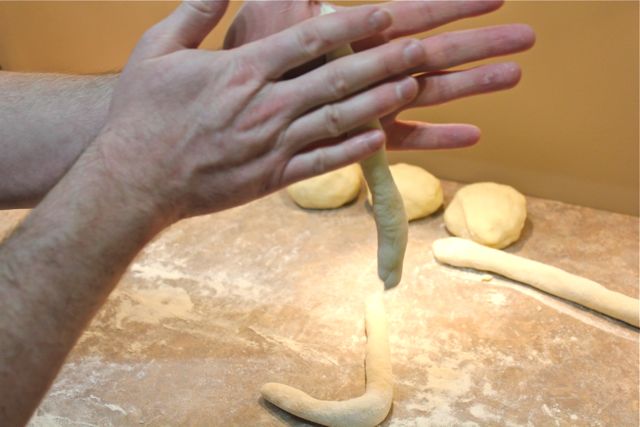
Then I rolled it in my hands to the size I was looking for. My play dough skills from childhood helped greatly.
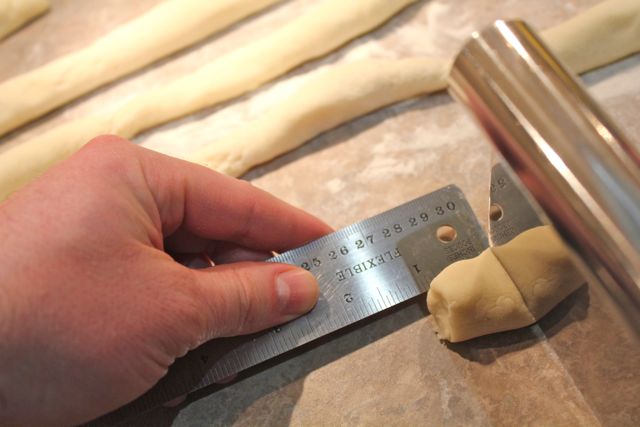
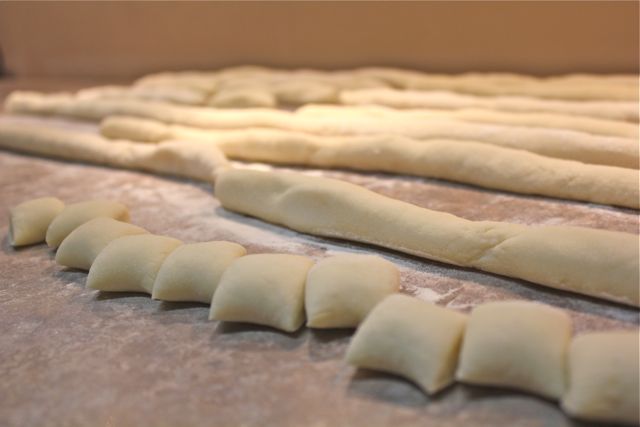
Cutting the rolls was pretty easy take a dull knife or pastry cutter and slice the ropes into 1” sections.
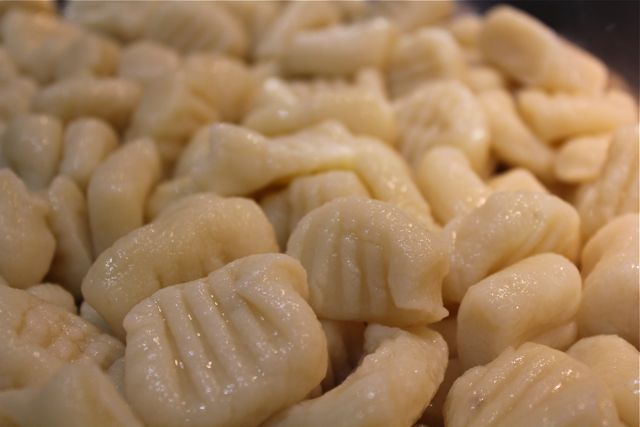
The pieces looked a little like pillows at this stage. At this point I was wondering how to get the nice grove marks into sides.
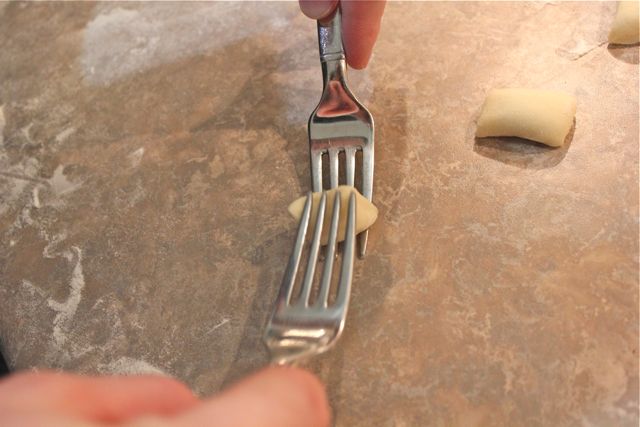
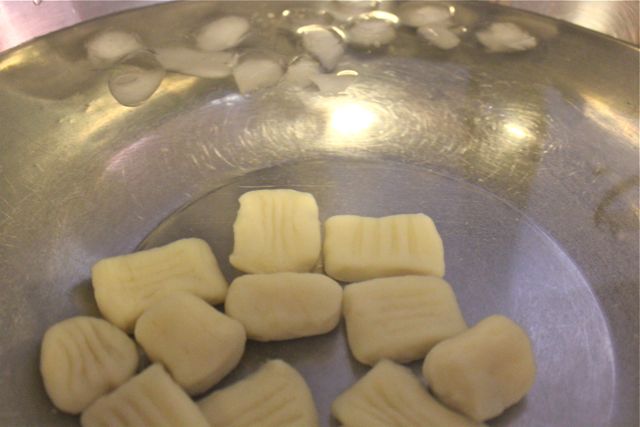
After a little break to watch some how-to videos, I settled on using two forks and gently squishing them together.
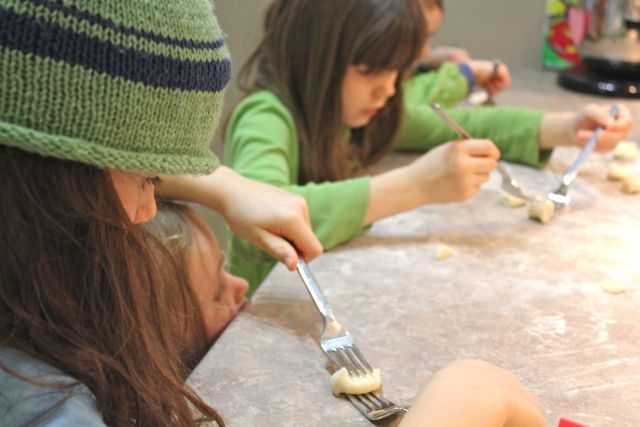
After moulding a few into shape, I attracted some attention from the kids who of course wanted to help. I showed them how to press the dough between the forks and much to my surprise they were lined up three deep almost perfectly shaping the dough. A nice quiet activity for them which gave me the opportunity to focus on cooking the gnocchi.
The cooking was pretty easy: throw them in a pot of salted boiling water and wait for them to float to the top.
Take them out and put them in an ice bath and your done.
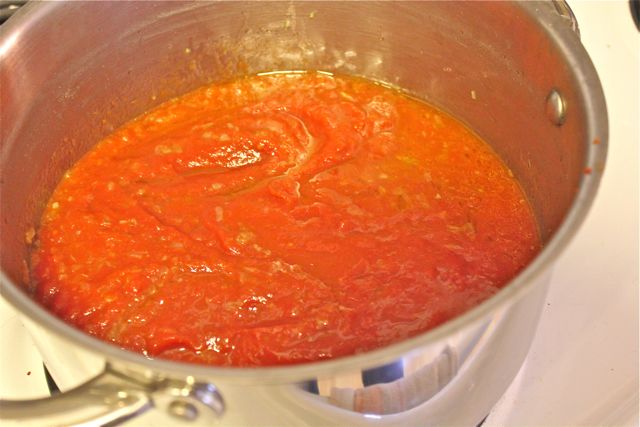
Rachel informed me earlier in the day she would like a “simple” tomato sauce. I may not have gotten it exactly to her liking – I believe she said something like “it’s pretty garlicky”. We have plenty of our canned tomato sauce left in the basement from last fall but since I had already invested two hours into the gnocchi, I thought I would put one together (mostly) from scratch – using a can of crushed tomatoes.
It is pretty simple, cut up one onion and about 4 or 5 cloves of garlic (hence the “pretty garlicky”) but I like it.
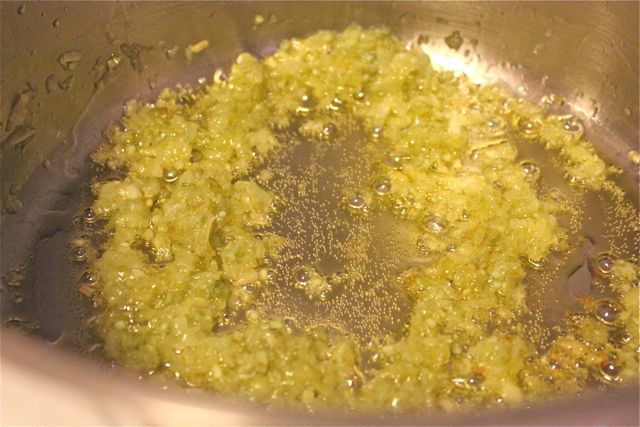
Sweat the onions until they are transparent, then add the garlic and cook for another few minutes.
Then you can add your tomatoes; let it simmer for 15-20 minutes.
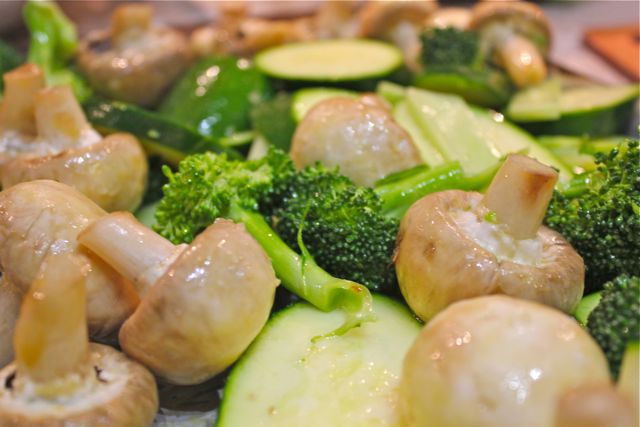
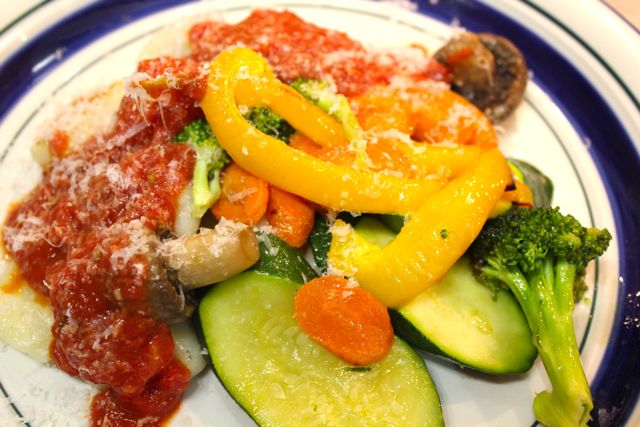
I also roasted some vegetables to go along side, which received mixed reviews: three out of five children liked them though so I will consider that a success. I try to include a variety when roasting veggies so that everyone has something they like.
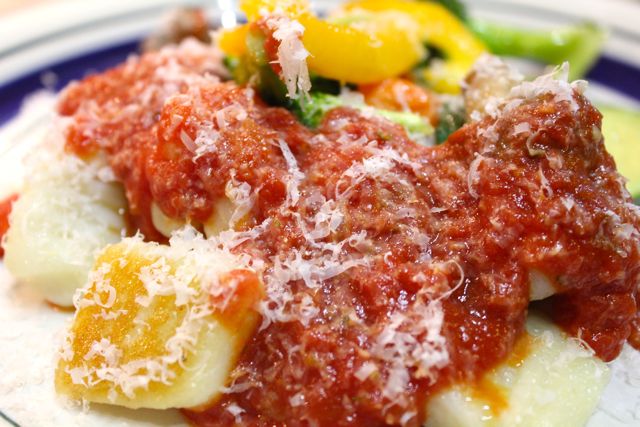
Served under the marinara sauce alongside the veggies and some freshly grated parmesan, the gnocchi was a success.
Delicious!

That looks delicious, Dan! I miss those roasted veggies you do.
yum! I don’t think Greg can cook without meat:)
Can I come over for dinner? Your posts on food ALWAYS make my mouth start watering!!
I am impressed! I want to try to make gnocchi, no I have no excuses!
That looks soooo yummy! I love the roasted veggies on the side!
I love the step by step illustrations to explain the process – it makes it look almost simple! Another brilliant meal, Dan – inspiring to the eye!